Installation
-
Right click the installer_BTAccessibilityTool.ps1 file and select Run with PowerShell (run as administrator);
-
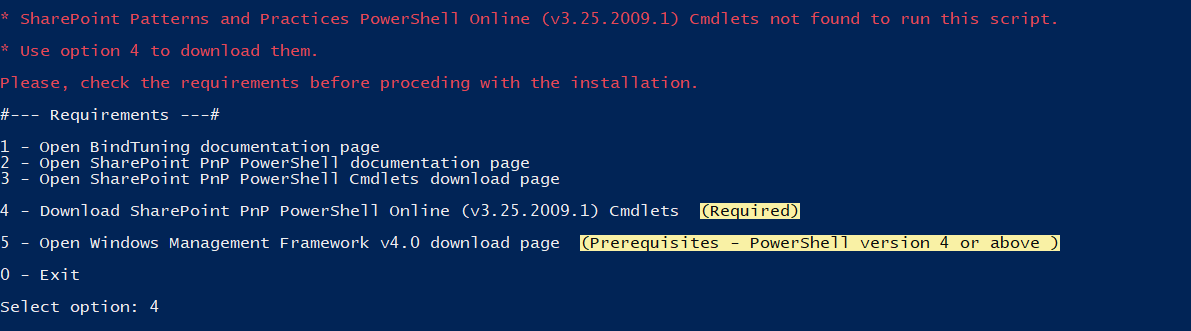
If prompted, download the required Cmdlets, in order to proceed with the installation;
Installing the Accessibility Tool on a site collection
-
If you're not running from the previous section right click the installer_BTAccessibilityTool.ps1 file and select Run with PowerShell;
-
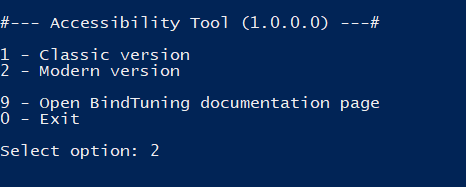
Select the Modern option and, hit Enter;
-
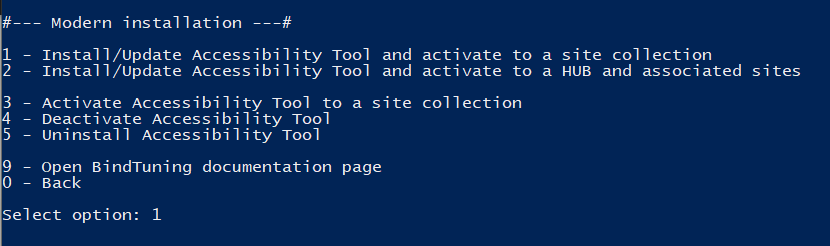
Select the option Install/Update Accessibility Tool and activate on the site collection and hit Enter;
-
Input the site collection where the tool is to be installed and hit Enter;
-
If prompted, input your Farm Credentials;
-
The process will run automatically.

Tool installed on the Site! ✅
Apply the Accessibility Tool
If you already have the tool available on your tenant app catalog, you can apply it to any Modern SharePoint Site collection you want.
-
If you're not running form the previous section right click the installer_BTAccessibilityTool.ps1 file and select Run with PowerShell;
-
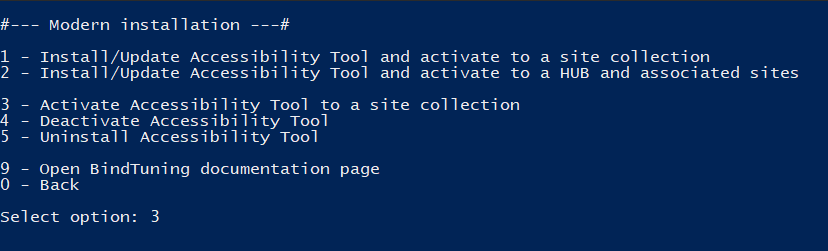
Select the option Activate Accessibility Tool to a site collection;
-
Insert the site collection where the tool should be applied;
-
If prompted, input your Farm Credentials.
Tool applied to the Site! ✅